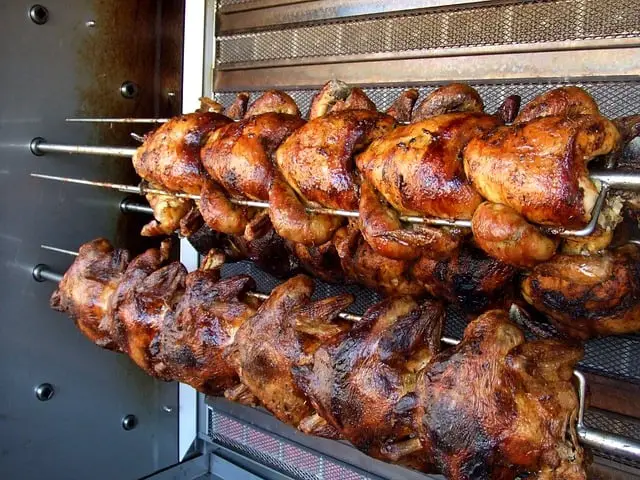
Costco hand-pulled rotisserie chicken is not only cheap – around $4.9 only, but also a very popular choice amongst customers for its premium quality and crispiness. But how can you freeze this chicken effectively, so as to make it more practically usable especially at times when you want a last-minute healthy meal and don’t have enough time to cook meat from scratch? It’s simpler than you may think!
Can you freeze rotisserie chicken? Yes, you can! In a nutshell, freezing rotisserie chicken involves three basic steps. The first is shredding the meat into various pieces – cutting off the skin, the breast, thighs, and legs whilst the meat is still warm.
The second step involves storing the pieces into air-tight containers such as Ziploc bags and plastic wrappings, which is finally followed by freezing the pieces in a freezer at an appropriate temperature for future use.
Read the details and various do’s and don’ts for these steps below.
Can Homemade or Store-Bought Rotisserie Chicken be Frozen
Both homemade and store-bought rotisserie chicken can be frozen. However, the overall timings for the various processes such as shredding, storing, and freezing would vary.
For example, homemade rotisserie chicken will take longer to cool down to the appropriate temperature for storing and freezing since it would be freshly cooked.
How long does rotisserie chicken last in the freezer
When properly stored, it would last around 4-5 days in the refrigerator.

How to Freeze Rotisserie Chicken
Step 1: Shredding The Meat
Wear disposable vinyl food gloves in order to prevent your hands from getting sticky in the process, and get your rotisserie chicken ready, placing it in a wooden cutting mat. Allow the chicken to cool for a while.
The time may vary depending on weather conditions and when exactly did you purchase it, but one of the indicators to know it has been cooled enough is to consider whether the bottom fat has begun to solidify or not.
Finally, start cutting your rotisserie chicken from the middle – the area where the string separates the two legs. Take one whole leg apart, followed by cutting off the whole skin and the wings. Keep shredding until you achieve a good number of pieces, and repeat on the other leg.
One tip is to make sure the skin covering the breasted areas is shredded as this will reveal the majority of the shredded chicken. Place all the pieces in a porcelain bowl.
Step 2: Storing and Bagging the Shredded Pieces
How much chicken you want to bag depends on your individual circumstances. For a family of four or five, three or four cups will suffice.
For effective storage of the shredded pieces and optimization of their shelf life, it is best to use multiple layers of plastic wrappings. You may wrap the pieces in parchment or butcher paper, followed by using two coverings of plastic wrappings. Finally, drop the entire thing in an air-tight Ziploc bag, further reducing the exposure to air or moisture.
Make sure to divide the various containers through labels in order to remind yourself when to thaw which.
Step 3: Freezing
This might seem like a no-brainer, but there are various ways to effectively and properly freeze rotisserie chicken so that when thawed, it retains its rich texture and flavor as best as possible.
If you wish to freeze your chicken quick, as in, when you are in a hurry, -10 degree Fahrenheit would suffice. Otherwise, -0 Fahrenheit is the ideal temperature to allow for slower and even cooling of the chicken. Overly reducing the temperature may deteriorate the texture, richness, and flavor of the chicken.
During the freezing step, the division of the shredded pieces into various Ziploc bags in Step 2 comes in handy because freezing individual parts allows for faster defrosting.
It is best to freeze rotisserie chicken once instead of multiple times as moisture loss through constant freezing and thawing will negatively affect its flavor, texture, and quality.
How to Defrost Rotisserie Chicken?
As a rule of thumb, you would want to freeze your chicken fast, and defrost it gently. Avoid defrosting your rotisserie chicken in a microwave oven as it will not allow the evenness in texture and quality you can achieve through gentle thawing by moving it from the deep freezer to the refrigerator.
Another method is to thaw the chicken by exposing it to cold water. The former method allows for better retention of the texture and quality, but it may take several days for rotisserie chicken to cool completely, so it’s best to plan ahead of time.
Make sure you never defrost your rotisserie chicken at room temperature, as according to studies by USDA, it results in bacterial exposure. Always opt for a refrigerator or a cold-water bath.
Can you freeze rotisserie chicken after 3 days
Yes, you can freeze rotisserie chicken after 3 days, provided it has been stored correctly in the refrigerator. By doing this, you can extend the shelf life of the chicken and enjoy it later. However, it’s important to follow some guidelines to ensure the chicken remains safe to eat.
First, make sure the chicken has been continuously refrigerated at or below 40°F (4°C) during these 3 days. This helps to minimize bacterial growth, which can cause foodborne illness. If the chicken has been left out at room temperature for more than two hours, it’s best not to freeze it.
Before freezing, it’s a good idea to portion the chicken into smaller, more manageable pieces, like breasts, thighs, and legs. This makes it easier to thaw and reheat later. Wrap each portion in plastic wrap or aluminum foil, and place it in a resealable freezer bag to prevent freezer burn. Don’t forget to label the bag with the date and contents.
When you’re ready to use the frozen chicken, thaw it in the refrigerator or in a cold water bath, never at room temperature. Once thawed, consume it within 24 hours and cook it to an internal temperature of at least 165°F (74°C) to ensure food safety. It’s worth noting that the texture and taste may be slightly different after freezing, but the chicken will still be safe to eat and enjoyable in various dishes.
Reheating Rotisserie Chicken
You may use an oven, stove, or a microwave whenever you wish to reheat rotisserie chicken. Follow the steps below for each:
Oven: Preheat the oven at around 350 degrees Fahrenheit, and place your rotisserie chicken, wrapped properly in an aluminum foil, into the oven. Roast the chicken for about 25 minutes, and then remove.
Stove: Apply vegetable oil on a frying pan, and heat the shredded rotisserie chicken pieces inside of it for 4-5 minutes.
Microwave: In case you microwave whole rotisserie chicken, heat it for 5-6 minutes. In the case of shredded pieces, 1 ½ minutes would suffice.
Can You Freeze Rotisserie Chicken on The Bone?
Yes, you can, but it is not recommended. It does make your work in the freezing process a lot quicker if you don’t bother shredding it, but there are more disadvantages to it. The main disadvantages to doing so are;
- Slower and less proportionate freezing of the chicken.
- Slower thawing of the meat during the defrosting and reheating process.
- Poorer preservation of crispy texture and rich flavor.
- Bigger portions are harder to store and will take up more space in your freezer.
So, it’s better to freeze rotisserie chicken in shreds as opposed to on the bone, because it will be easier to reheat later and will taste better too!
Conclusion
Freezing rotisserie chicken is easy and anyone can do it as long as you have a freezer. It will save time and even some money if you buy it on sale. The texture and taste of the chicken don’t change if you freeze it, which makes rotisserie chicken the perfect food to freeze.